Follow the steps below in order to set up your SMS with Scheduled Time Delivery Zap.
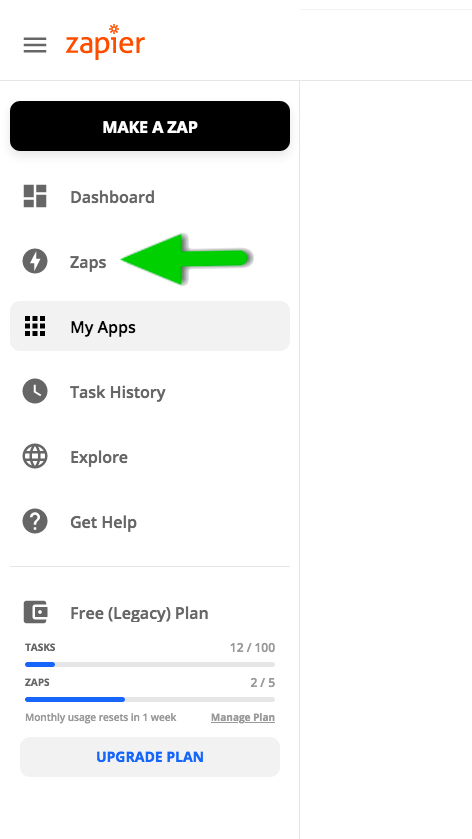
Go into your Zapier account and click on Zaps on the left side
Click on Create Zap button

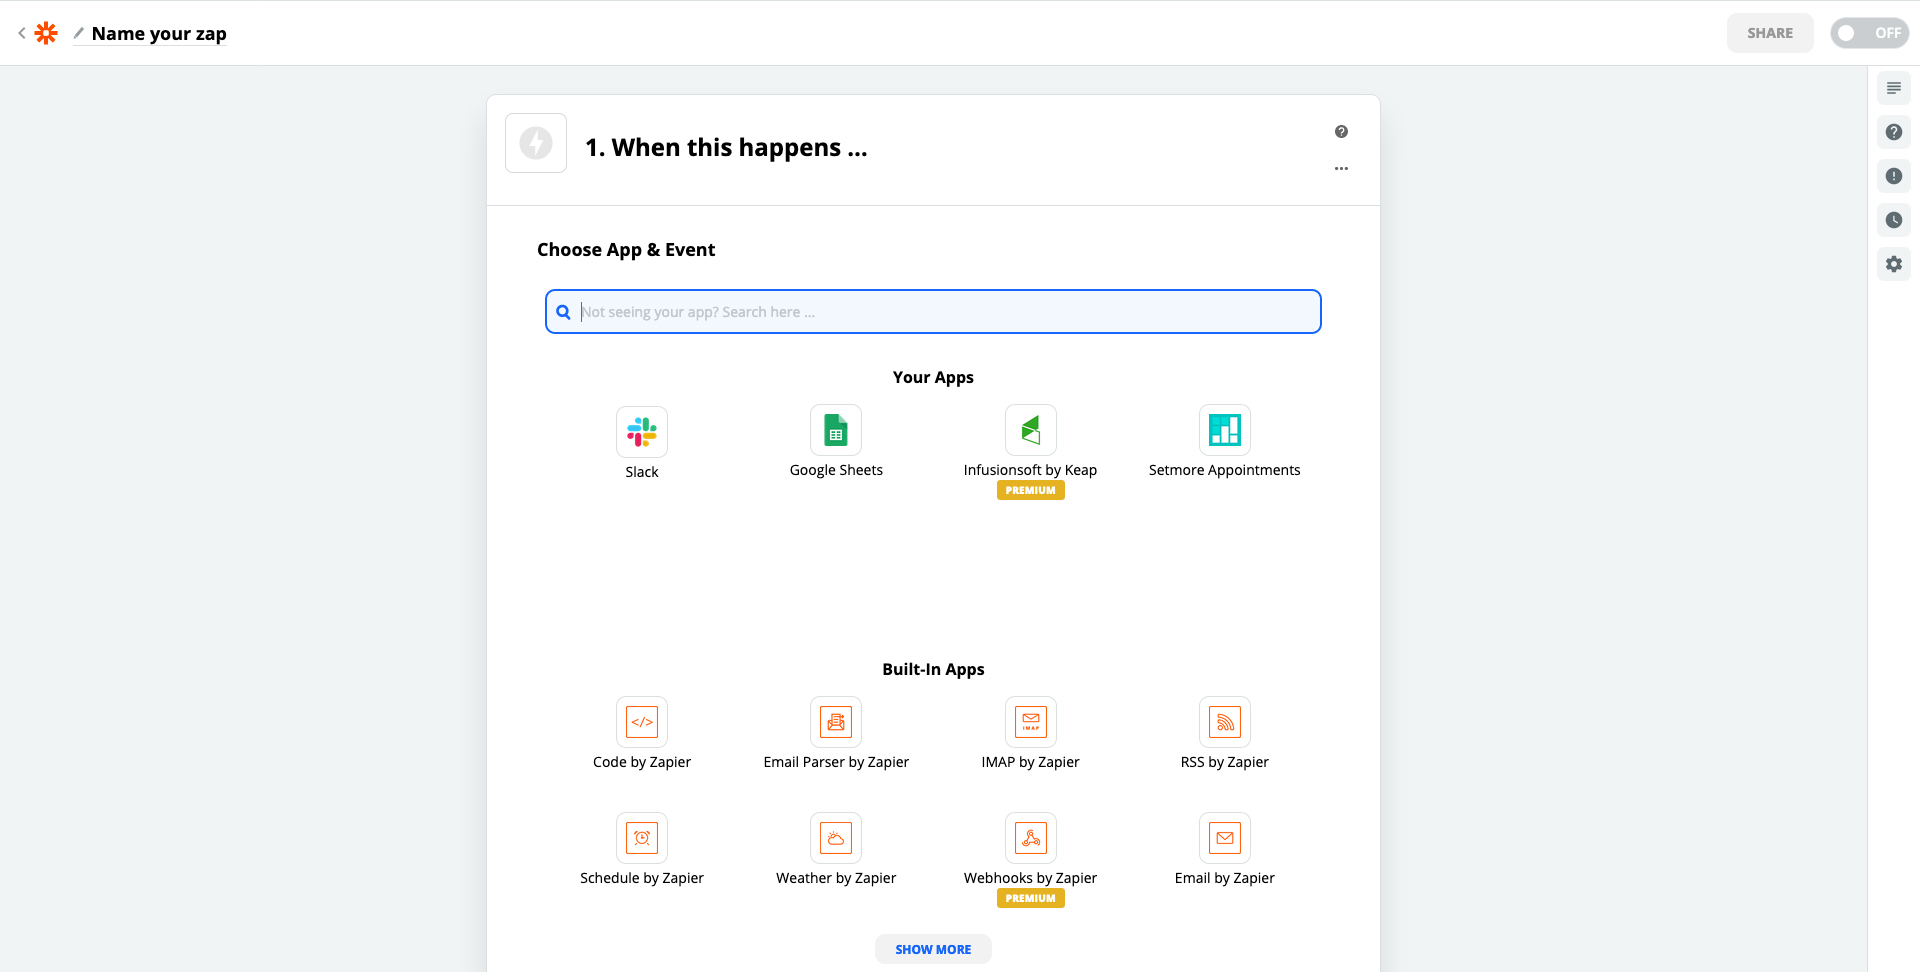
Select the App you want to trigger the Text Integration SMS and continue to configure it until you reach Step 2
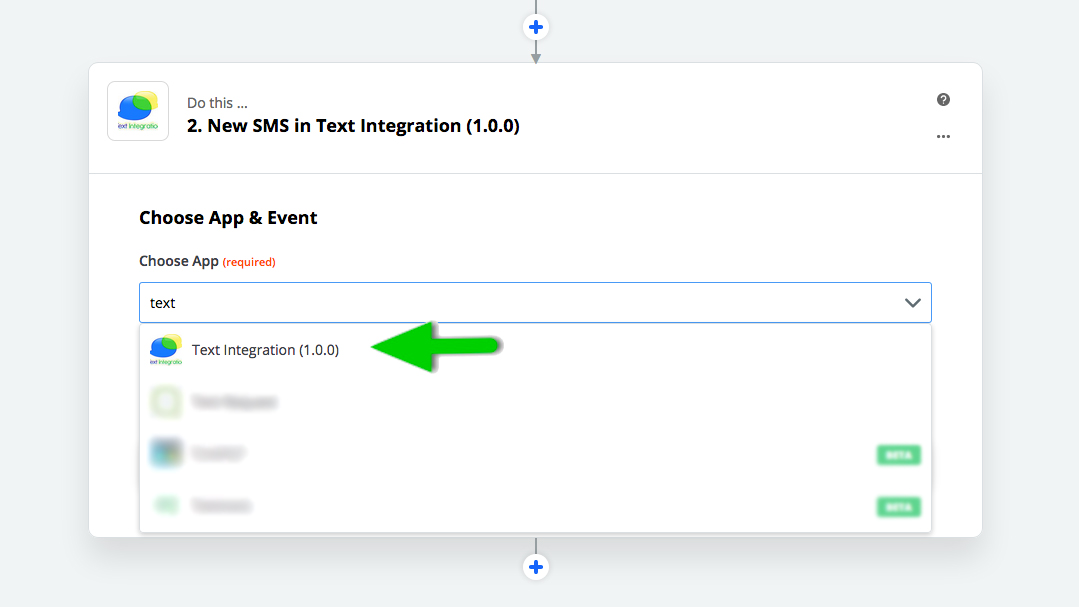
When you reach Step 2, search and select Text Integration from the choose app drop-down menu
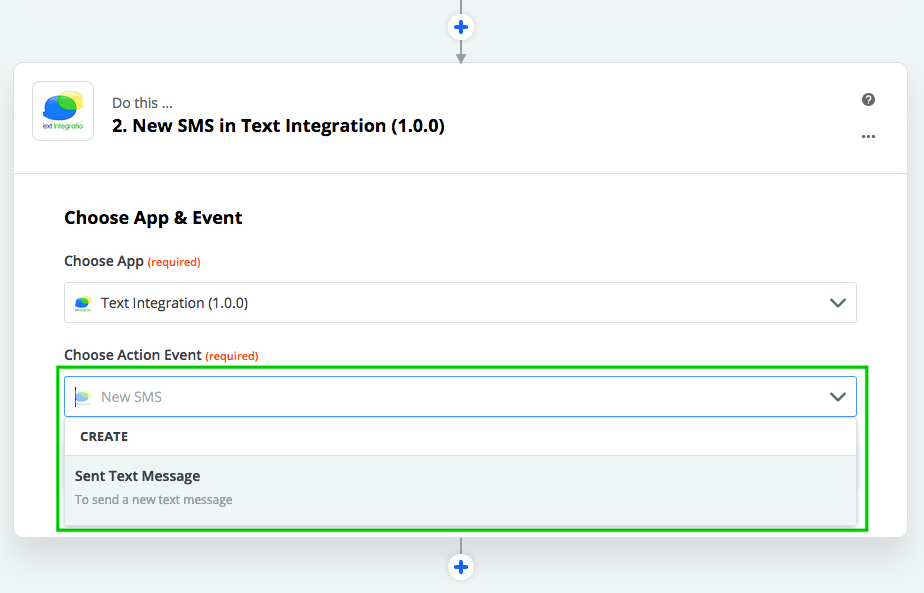
Select Sent Text Message from the Choose Action Event drop-down menu
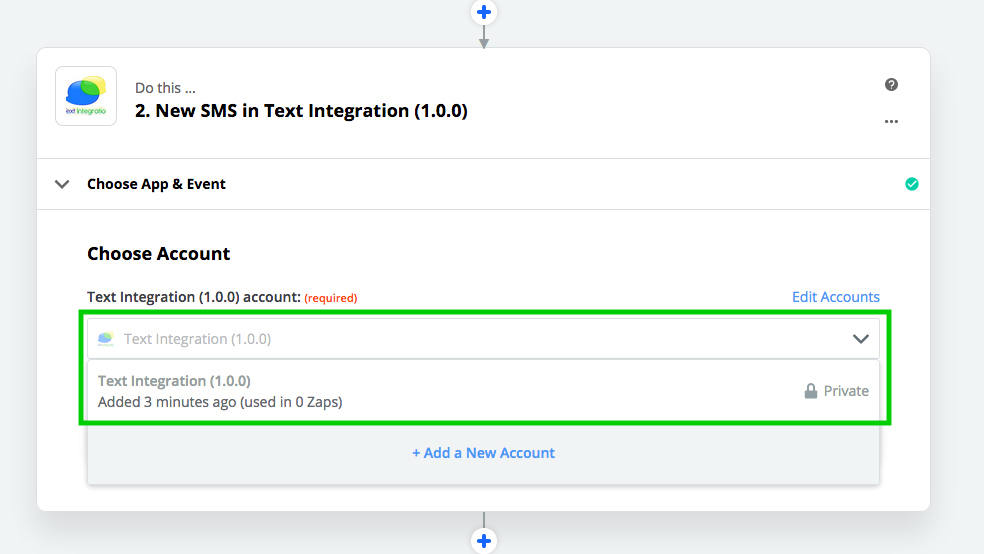
Choose your Text Integration account
Setup and Customize your SMS.

- Mobile Phone: This is where you put the phone number you want SMS to be sent to. You may use the drop-down menu to populate this field based on what app you have selected from Step 1.
- Text Message Body: This is where you compose the text message you want to send to your contacts. Feel free to also use the drop-down menu to populate the merge fields you want to fully personalize your text message.
- Country: This is where you type-in or select from the drop-down menu (if applicable) the country you want to send your Text message to.
- Message Send Time: This is where you time in or select from the drop-down menu (if applicable) the time you want your SMS to be delivered.
- Please note the following:
- The time should be in 24-hour format, e.g. hhmm
- There should be no leading or trailing spaces on the time field
- There should be no alphabetic and special characters in the time field
- Failure to comply with the time field criteria mentioned above, the system will not send your text message.
- If you want to send the scheduled message within the same day, make sure that there is an ample amount of time before your scheduled time of delivery. Otherwise, the system will assume that it is for delivery the following day.
- Please note the following:
Please note that if you are not going to use the non-required fields, kindly leave them blank.
Once done configuring the SMS, click the Continue button.
On the Send Data section, you may choose to run a test or skip the test, but do not forget to Turn ON your Zap.
Comments